Advanced NDE
Capabilities:
- Phased Array UT (PAUT)
- HydroForm Phased Array
- FlexoForm Phased Array
- AxSEAM Phased Array
- Creaform Laser Scanning
- ECDA/ICDA
- Optical Emission Spectroscopy (OES)
- Shear Wave UT
- Automated UT (AUT)
- Eddy Current Array (ECA)
Phased Array UT (PAUT)
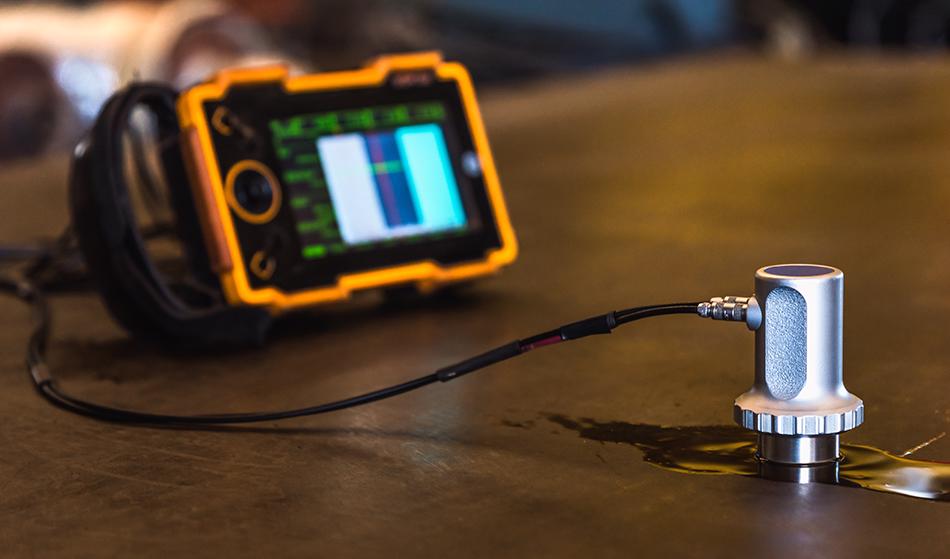
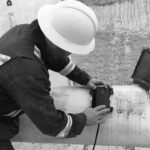
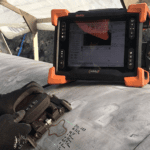
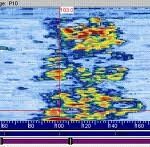
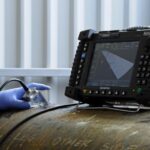
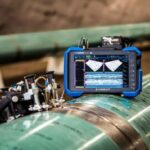
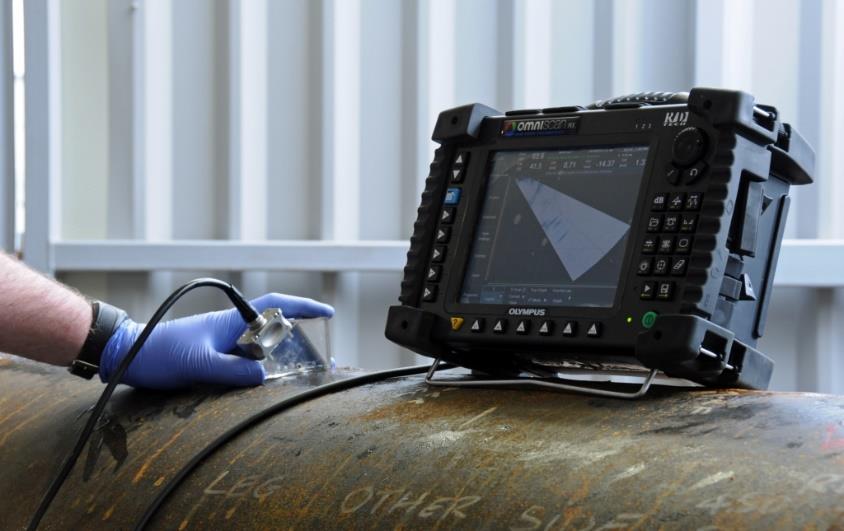
PAUT instruments produce accurate, detailed cross-sectional pictures of internal structures at fast inspection speeds. PAUT technology uses multiple ultrasonic elements and electronic time delays to create beams that can be focused electronically for fast inspection, full data storage, and multiple angle inspections. PAUT technology provides precise measurement with the most reliable results. PAUT applications include manual and encoded weld scanning. Encoded scans offer extremely accurate sizing of weld flaws along with cross-sectional planar views of the entire encoded scan area.
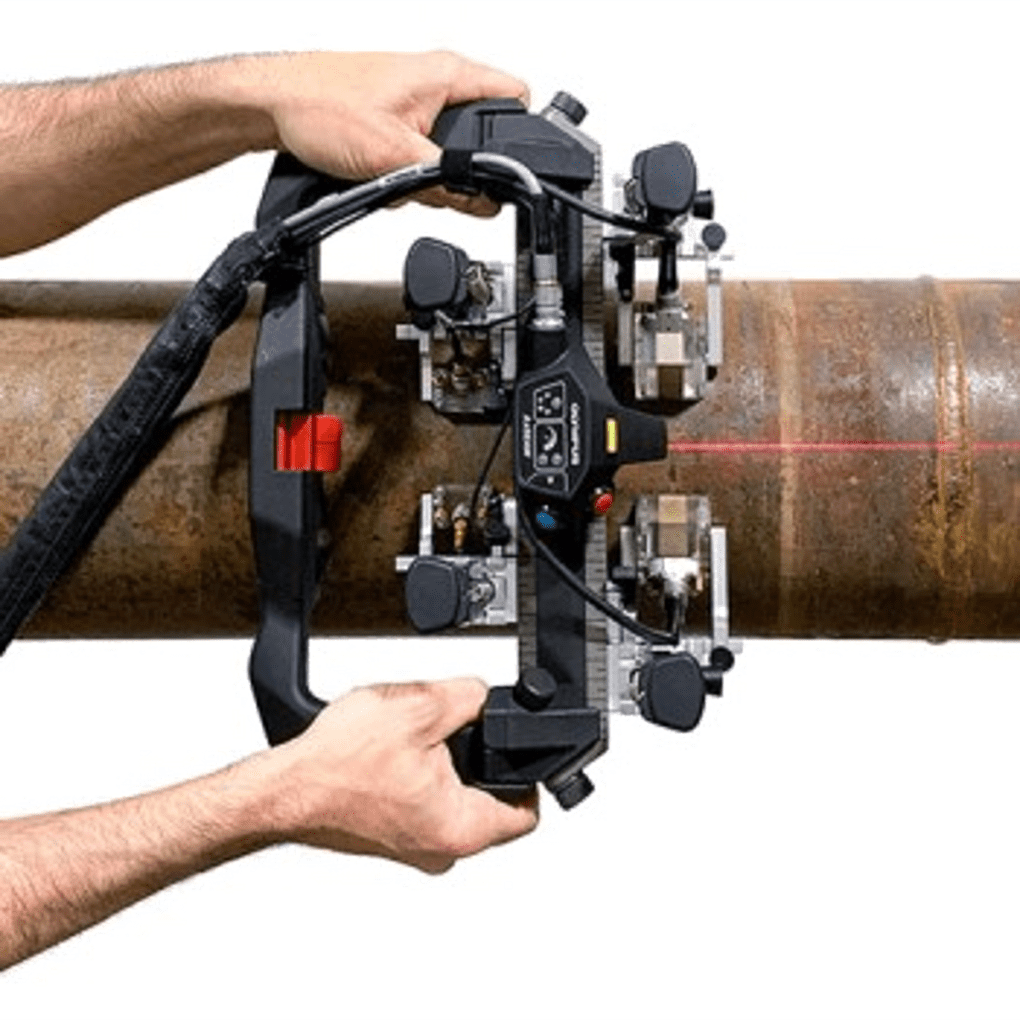
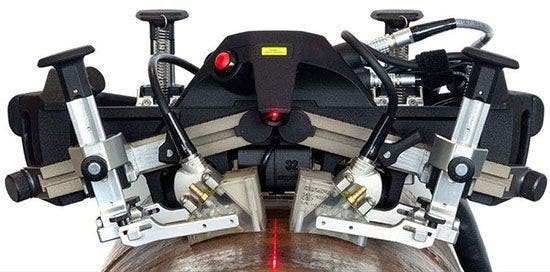
AxSEAM™ Multi-Probe Phased Array Scanning
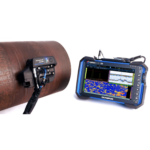
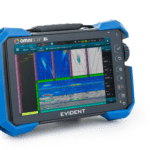
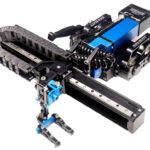
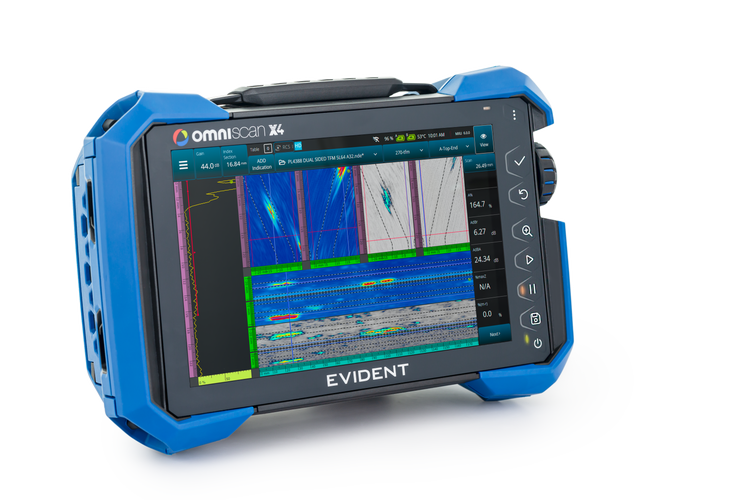
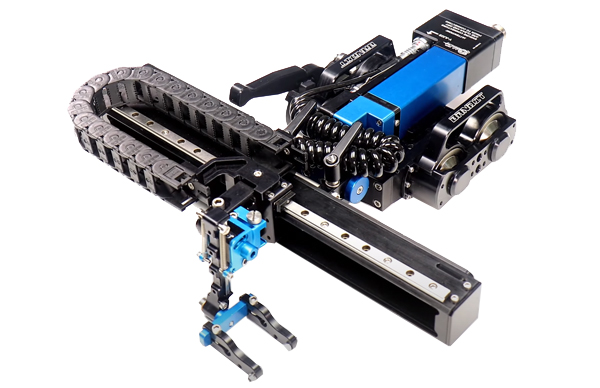
The semiautomated AxSEAM™ scanner eases long seam weld inspection in pipe, accurately identifying critical weld anomalies including hook cracks and lack of fusion. Paired with the Olympus X3/X4 Flaw Detector for maximum data capture and efficiency, the AxSEAM™ is configured with four (4) individual phased array (PA) probes, enabling PA, TOFD, and TFM inspection.
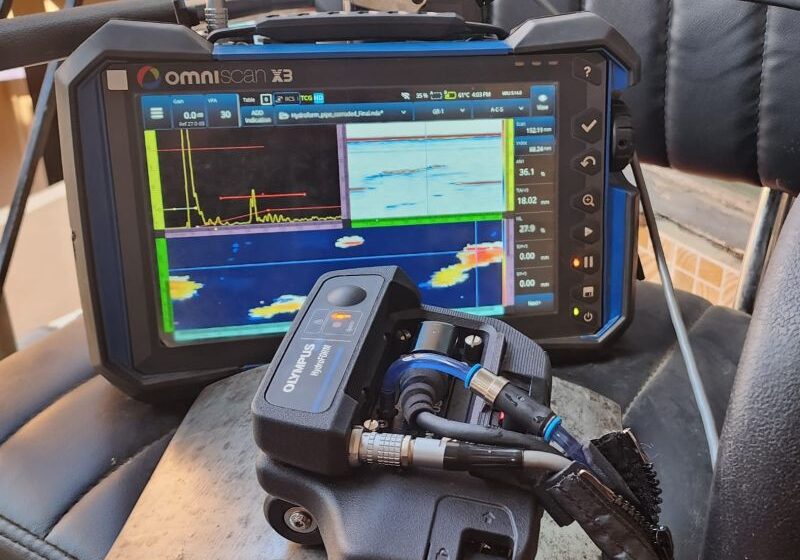
HydroFORM Phased Array
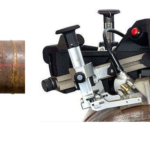
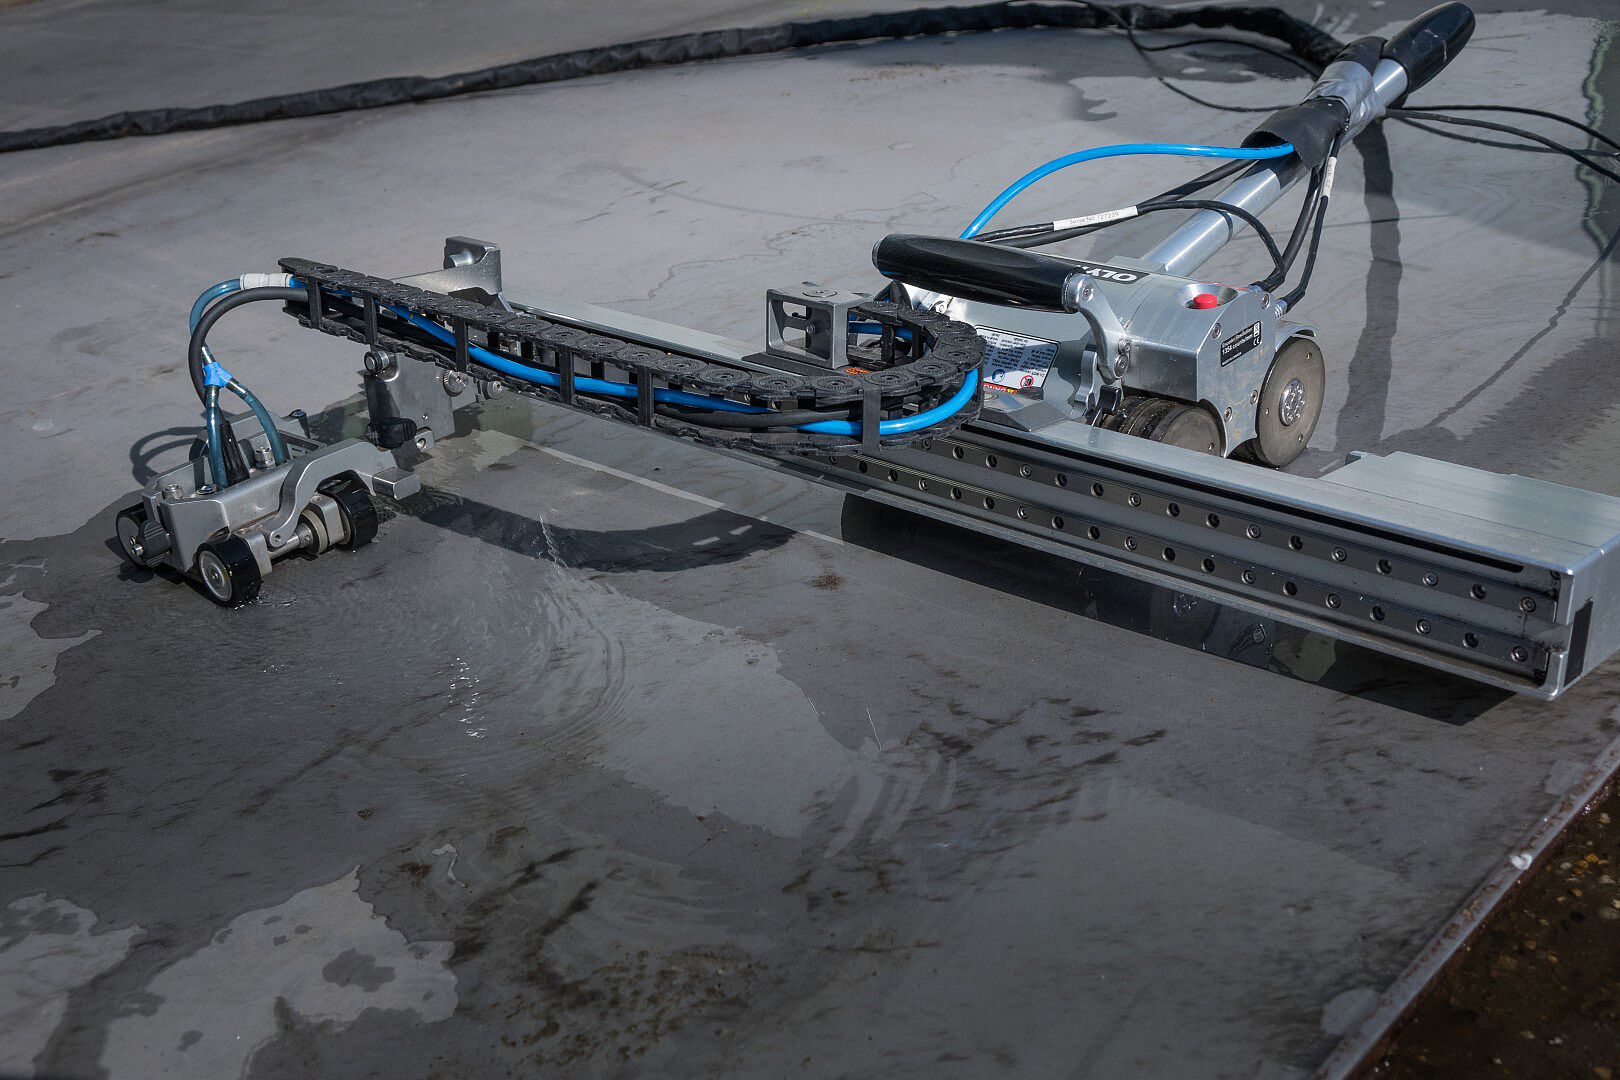
An easy-to-deploy 2-axis encoding phased array (PA) solution, the semiautomated HydroFORM™ scanner enables fast and reliable wall-thickness mapping and midwall damage detection by acquiring high-resolution data of large surfaces in minimal time. Achieve immersion-tank-quality phased array inspection without concerns about water coupling. The HydroFORM scanner's unique low-flow water-column design with foam gaskets conforms to the surface, eliminating the need for a wedge.
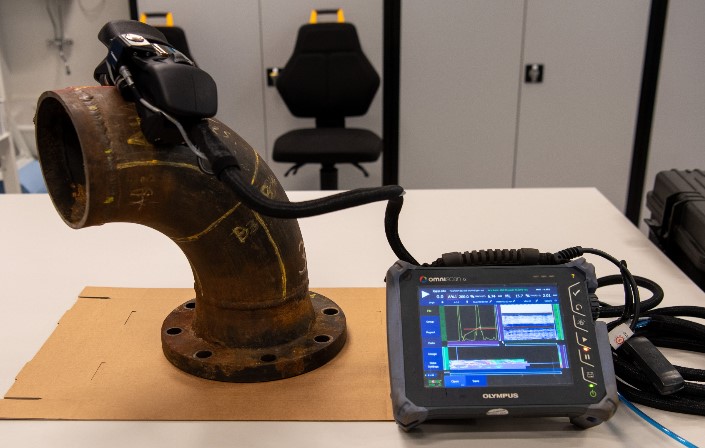
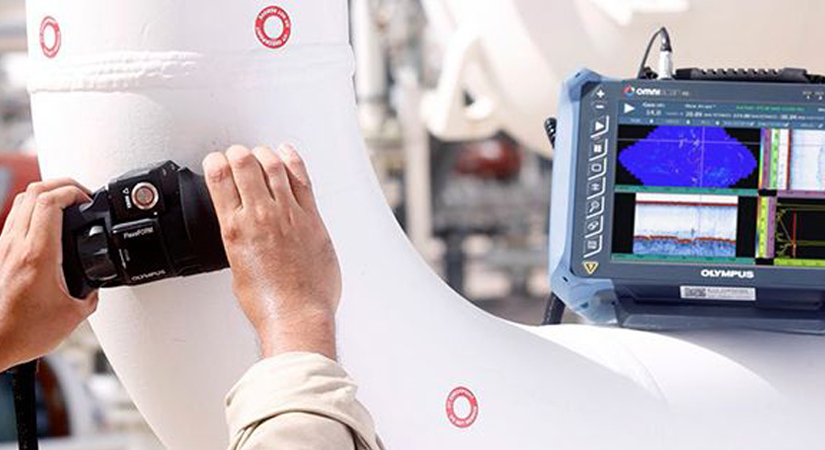
FlexoFORM Phased Array
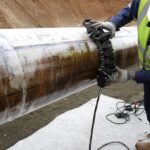
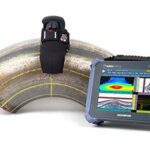
The FlexoFORM scanner is used with an OmniScan® X2/X3/X4 flaw detector to acquire and save data with a resolution as high as 1 mm × 1 mm to detect and measure different types of damages or anomalies such as remaining wall thickness, corrosion pitting, and mid-wall lamination or inclusions. Like it's name FlexoFORM utilizes a unique design to scan difficult elbow's or bends in pipe where conventional ultrasonic equipment cannot easily maneuver. For this reason FlexoFORM is able to scan the entire surface of the pipe with less dependency on the operator while providing an improved probability of detection as compared to simple spot checking.
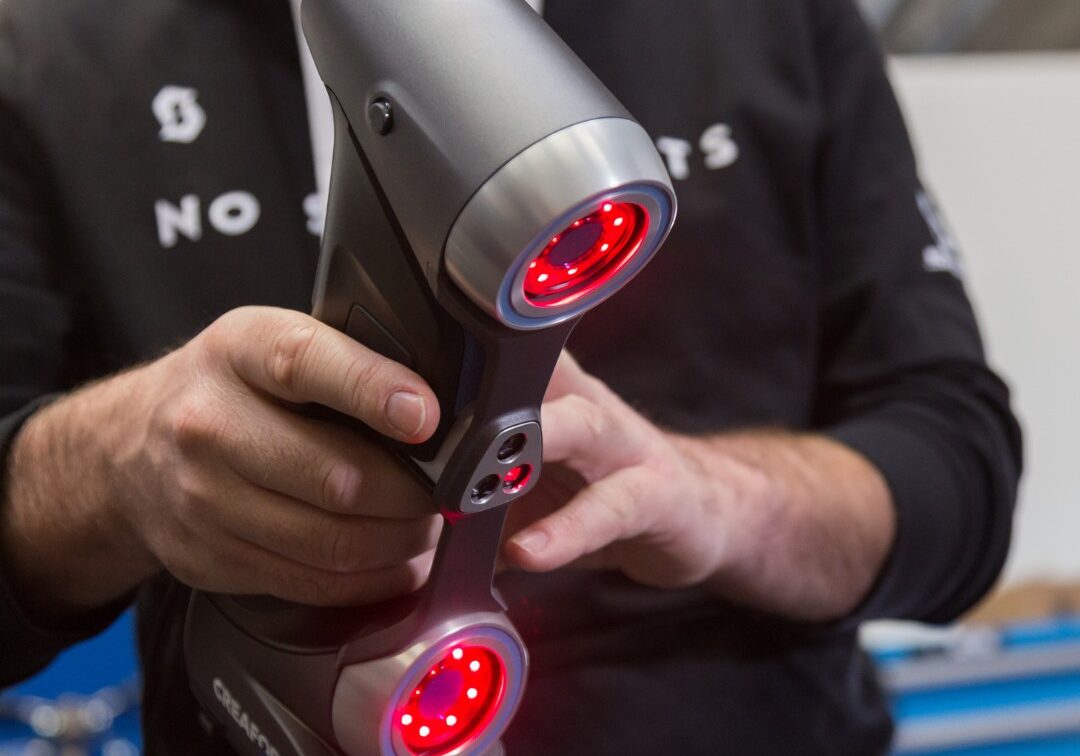
Creaform Laser Scanning
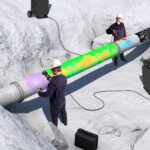
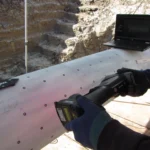
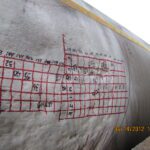
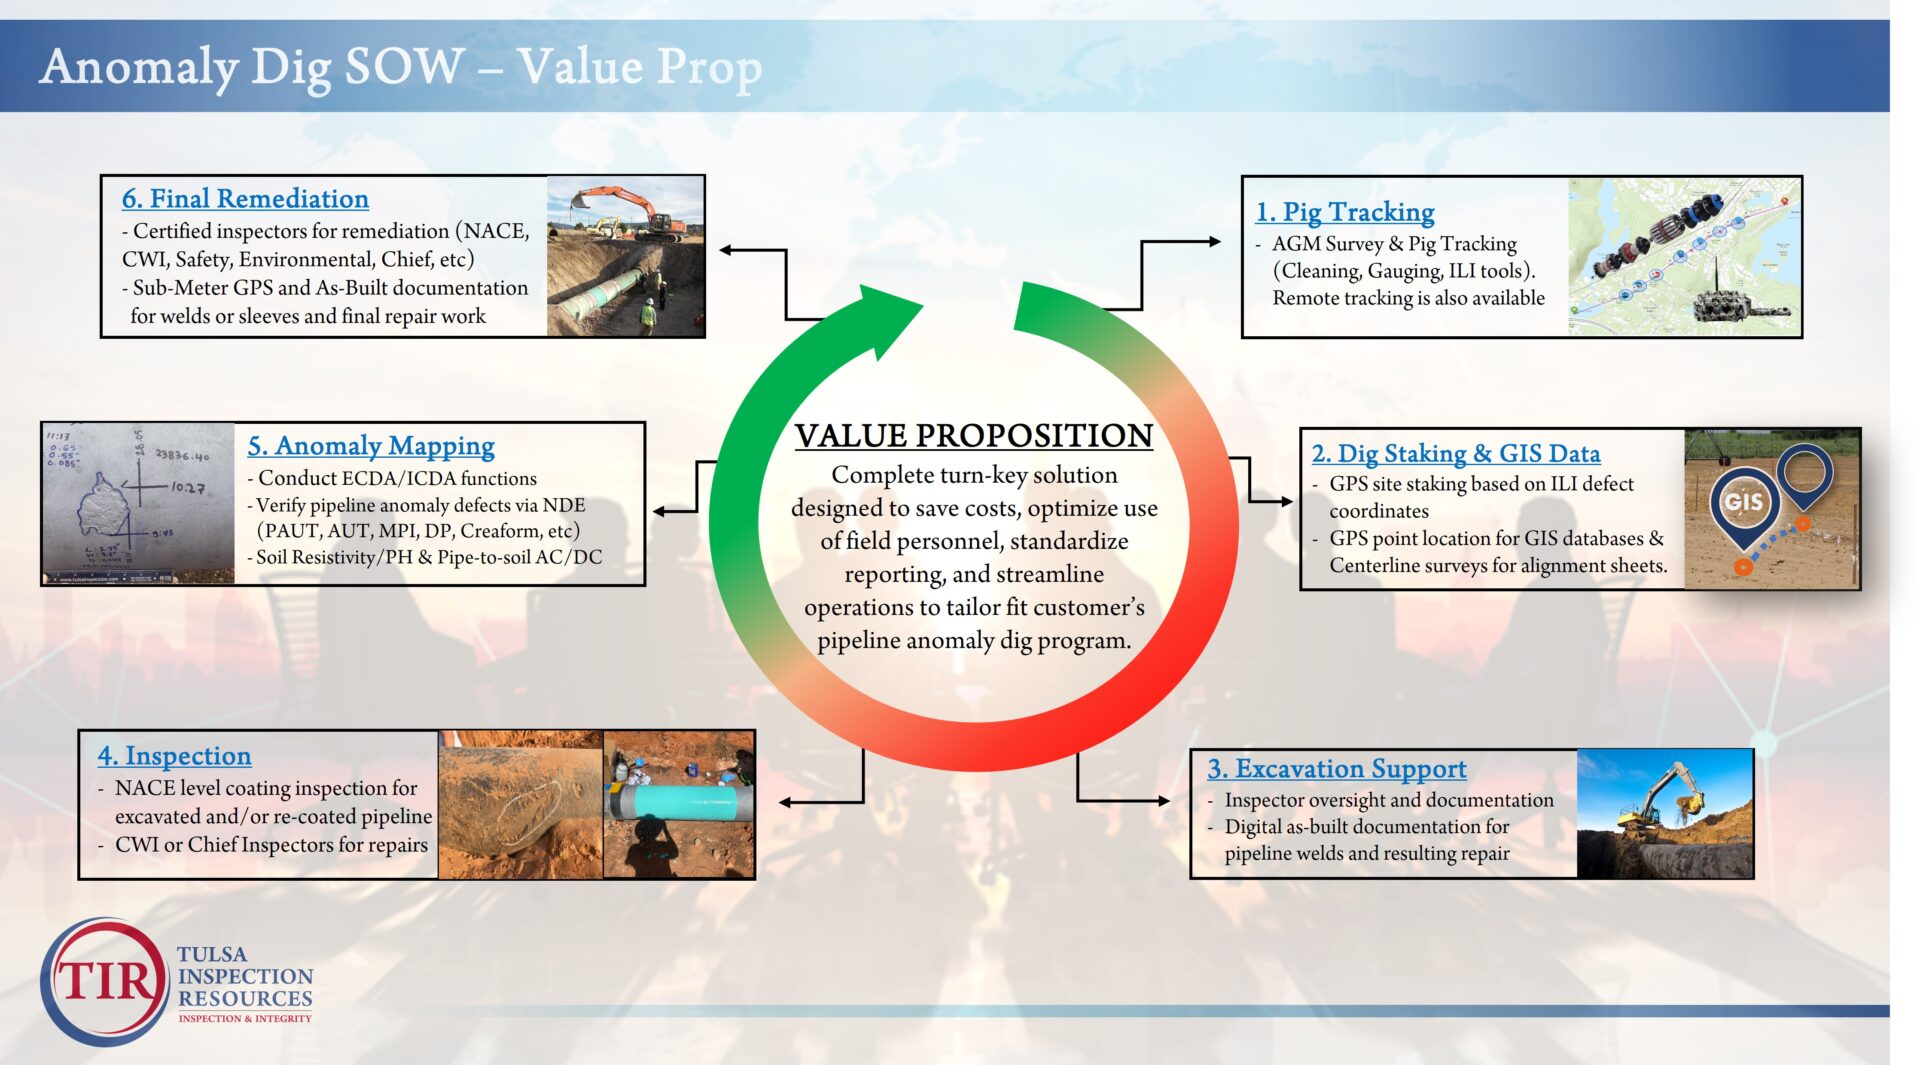
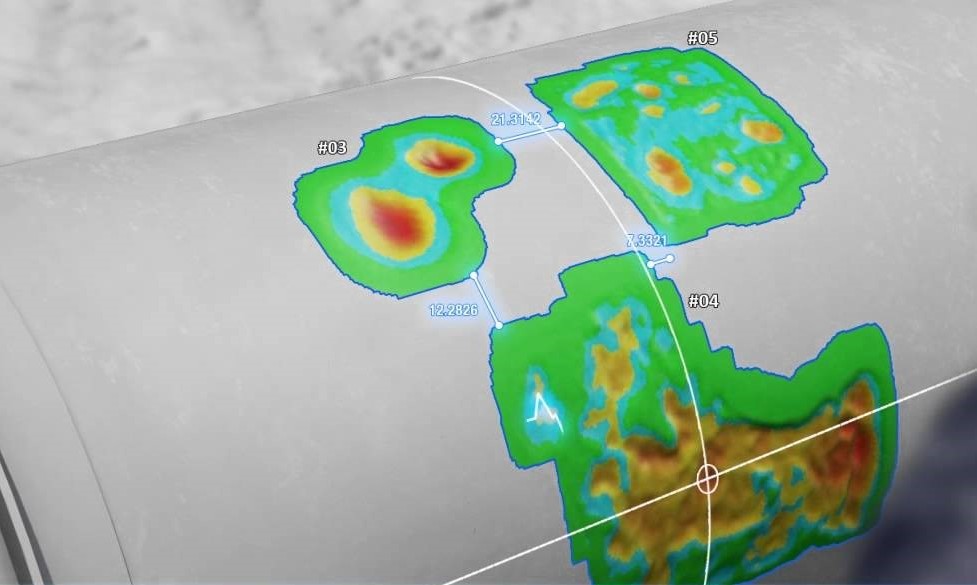
Creaform is one of our industries most powerful tools for mapping external pipeline anomalies. Paired with its' proprietary Pipecheck software, this laser technology instantaneously identifies critical defects, allowing the operator to make important decisions pertaining to future remediation measures. Ultimately, laser scanning is more encompassing and accurate than traditional manual pitch gauges while completing a scan in several minutes and not hours. Ideal applications for Creaform are on pipeline assets with large sprawling areas of corrosion, critical external anomalies which are difficult to document with standard manual equipment (ex. corrosion inside a gouge, or gouge inside a dent), or areas which require accurate precision due to their sensitive location or application.
Automated UT (AUT)
Automated ultrasonic testing (AUT) utilizes computerized methods to drive the UT equipment around the pipe during scanning. The AUT solution includes computer software which captures the critical anomaly data which will later be used to evaluate future remediation steps to the pipeline. AUT lowers the ultrasonic scanning time for multiple applications, despite the fact that whether you are using it in-service or during the production, AUT equipment optimizes the inspection process. An automated ultrasonic testing machine boosts inspection speed, delivers accurate data and lowers the inspection cost comprehensively. Hence, it enables better visualization and documentation of different inspections.
Conventional NDE
Capabilities:
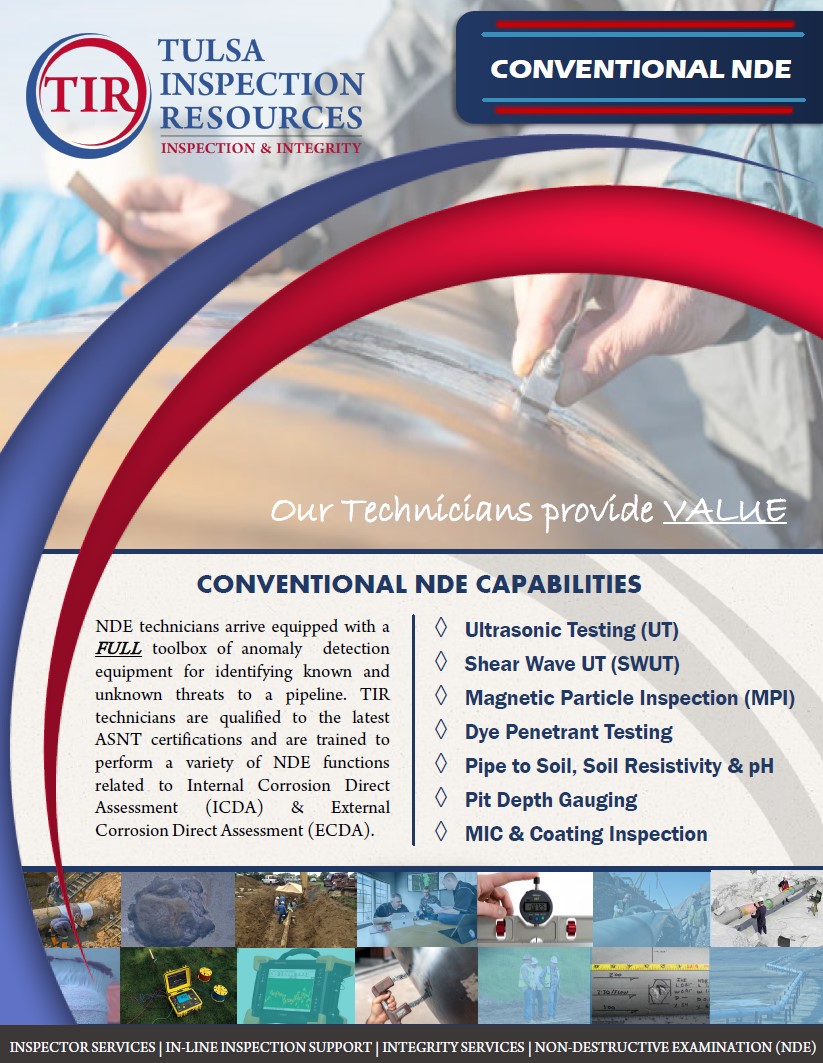
- Ultrasonic Testing (UT)
- Shear Wave UT
- Magnetic Particle Inspection (MPI)
- Dye Penetrant Testing
- Pipe to Soil, Soil Resistivity, and pH
- Pit Depth Gauging
- MIC and Coating Inspection
Magnetic Particle Inspection (MPI):
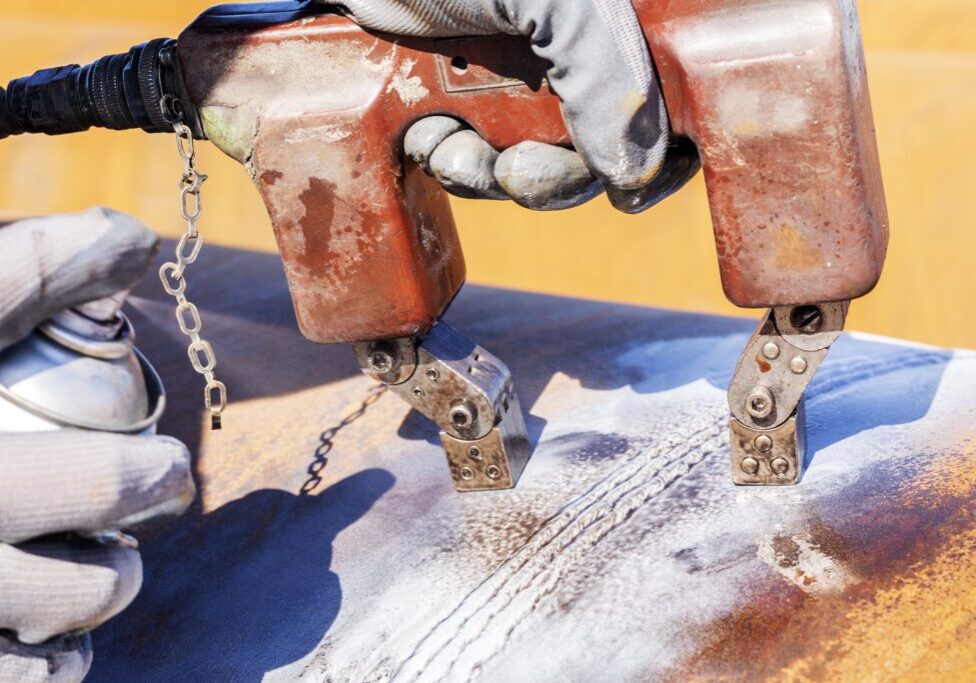
MPI is a process for detecting surface and slightly subsurface discontinuities in ferroelectric materials such as iron, nickel, cobalt, and some of their alloys. The process puts a magnetic field into the test object. When the part is magnetized, flaws perpendicular to the magnetic field direction cause flux leakage. If a lapse or a crack is present, the magnetic particles will be attracted to the flawed area, a term known as an indication. Our experienced technicians will then evaluate the indication to assess the location, size, shape, and extent of these imperfections.
Ultrasonic Testing (UT)
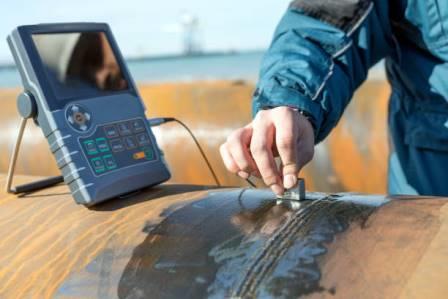
- UT Thickness
- Shear Wave
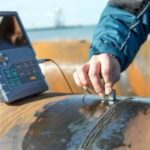
Conventional UT is widely considered the workhorse of the NDE industry. The most common applications of conventional UT include UT Thickness and Shear Wave. In UT Thickness applications, a single transducer (single or dual element) is used to measure the remaining wall thickness. Shear Wave is used to identify mid-wall defects, size internal defects, and characterize subsurface discontinuities. Our technicians are trained to locate, size, and evaluate volumetric discontinuities in welds, base metal, castings, and forging. Test results are highly repeatable and reliable. The minimum detectable flaw size is dependent upon the type of material being tested and the type of flaw under consideration.
